Midcentury Mitts
Overview
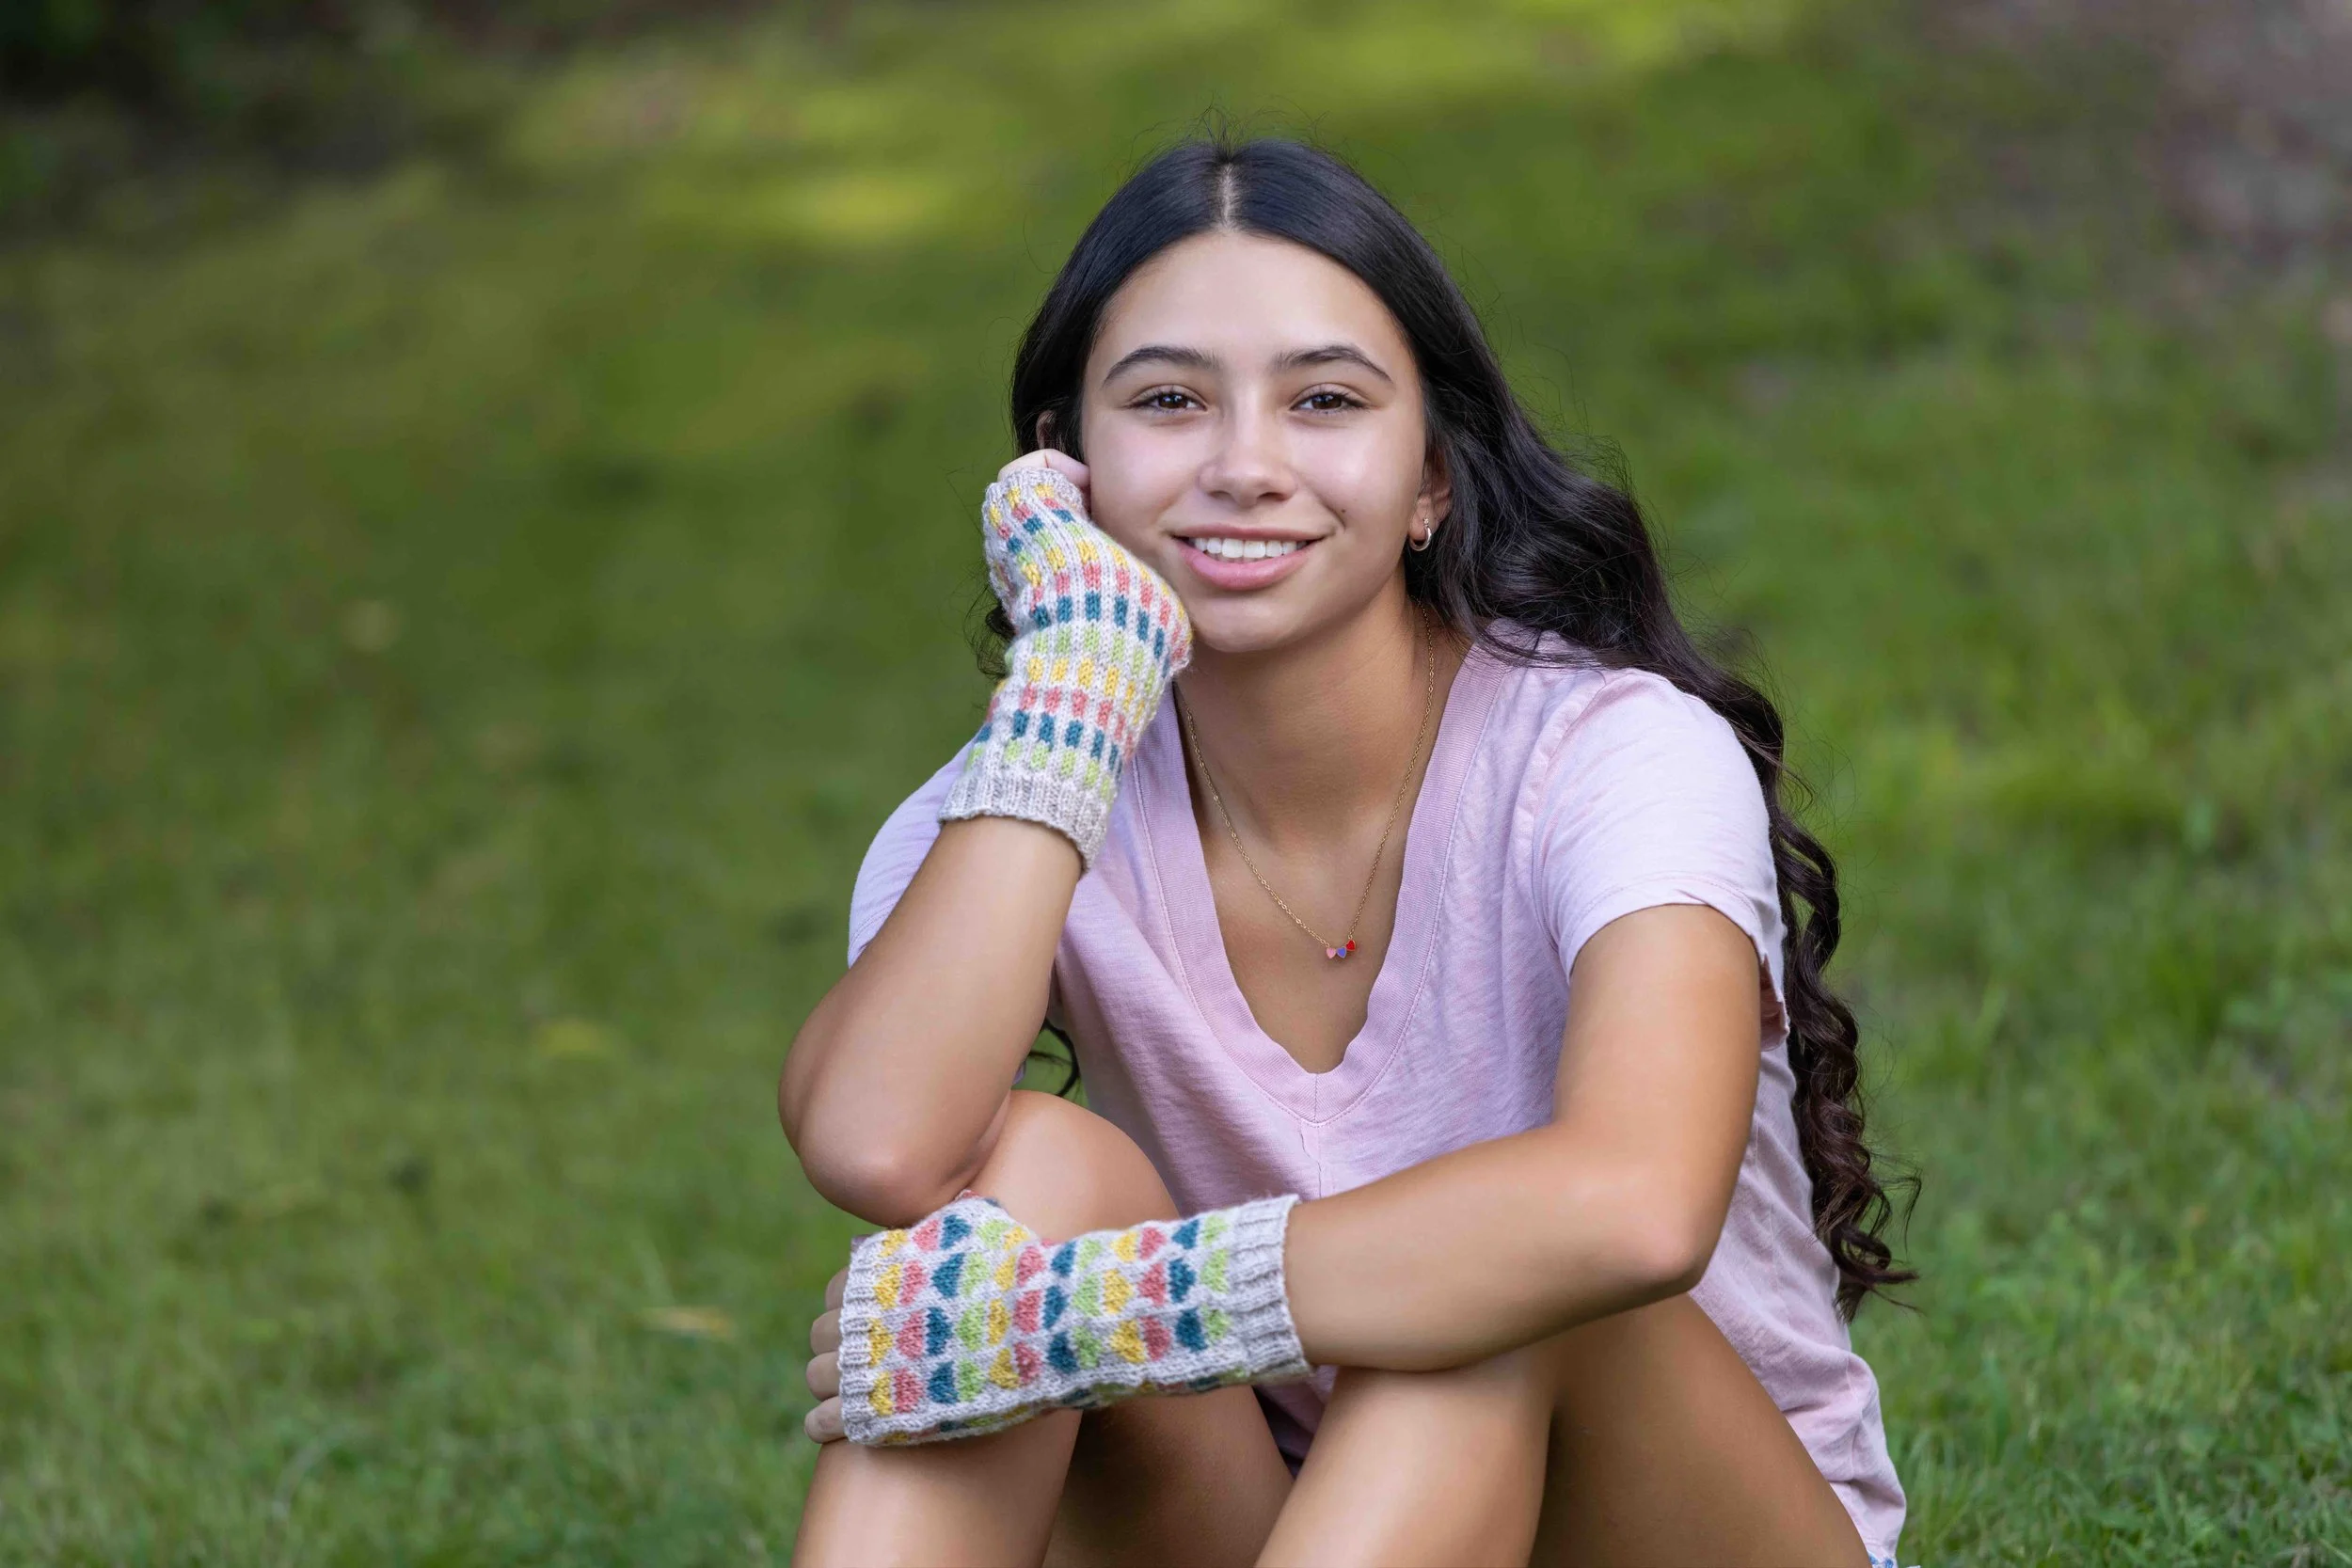
The Midcentury Mitts by Saysha Greene are a delight to knit! And by practicing the join-and-weave-in method, you too can become a Yarn Whisperer.
Construction Notes
These mitts are written for Magic Loop with a long circular needle, and you can easily substitute your favorite method for small circumferences. Because the mitts are such a quick knit, we recommend for this pattern only that rather than swatching, you cast on the first mitt, knit a few inches, and check gauge. These mitts are worked from the wrist up. Increases are used to create the thumb gusset, then the thumb stitches are bound off and decreases snug up the thumb hole. You'll love how quickly the mitts fly off your needles! For alternative methods to magic loop, jump to knitting small circufmerence in the round. Those new to chart knitting may want to review HOW TO READ KNITTING CHARTS.
Sizes & fit
Because of the large motif, grading for these mitts is accomplished by changing gauge. The Smaller Size is knit on US 1.5/2.5 mm needles and yields a mitt that is about 7"/17.5 cm in circumference. The Larger Size is knit on US 2.5/3 mm, and yields a mitt of about 8"/20 cm in circumference. For those needing even more positive ease, these mitts can also be knit on US 3/3.25 mm needles for a 8.5-9"/21.5-22.5 cm circumference.
To choose your size, measure your hand circumference at the widest point. If the result is larger than 8"/20 cm, you may wish to choose the larger size.
Gauge
You’ll notice we don’t have a gauge swatch for this pattern. That’s because the mitts are small enough that they’re barely larger than a swatch would be. Additionally swatching in a method different than what you’re using for the mitts (i.e. using the Long Float method to knit a swatch vs knitting in the round with DPNs or circulars) often is a poor prediction of what your gauge will actually be. So here’s what we suggest! Cast on your mitt, knit a few inches of colorwork, then steam or wet block and check your gauge (we’ll remind you within the pattern). If your gauge is far off, start over and adjust needle size as necessary. It’s barely more work than swatching, and if you’re happy with your gauge, you’re already on your way.
How to Work Small Circumferences in the Round - 4 ways
For those newer to small circumference knitting, there are many options for knitting in the round, and just about every knitter has their preference! We recommend experimenting to see what you like best. Alison has knit using every one of the techniques below, and she finds she gets the best knitted fabric with shorties, though it is not her preference for comfort! Andrea, on the other hand, prefers Addi Flex-Flips. The only way to know what you prefer is to try them all!
Casting on with Magic Loop
For Right Handed Knitters, see the first video. For Lefties, see the second one!
How to Join & Weave In/Weave In & Cut as you work
This is a fun technique that requires no tapestry needle and saves you from a million ends later!
To join & weave in: Just lay the new yarn over the old yarn, then knit as usual, moving your working needle under and over the new yarn that’s resting behind the work. (Always make sure not to knit with the new yarn.
To weave in & cut: It’s done in just the same way, only typically, the yarns are in opposite hands.
Other ways to Join New Yarn
This video shows different ways to join a new working yarn.
Colorwork Tips
We've heard from a lot of new colorwork knitters that they're intimidated by stranded knitting - they worry that it won't be perfect. We'd like to give you all a little gift right now and say "It won't be perfect, yay!" If you're new to colorwork, recognize that you're learning a new skill and it will improve a LOT with practice. Think about your project as the **first** colorwork project you'll make - it's a journal that will document your growth!
Knitrino recommends knitting stranded colorwork with two hands. For most knitters, the strand of yarn that is carried lower than the other on the wrong side will create larger stitches and can appear more dominant on the right side of the fabric, so carry the float of the background color in the highest position on the wrong side, and the color you most want to pop in the lowest position. For most right handed knitters knitting with 2 hands, you'll carry the background color in your right hand and the contrasting or motif color in your left hand.
Everyone knits differently. Many knitters knit tighter when stranding and so often, patterns suggest going up a needle size. Some knitters, though, kit more loosely with colorwork. The goal is to have floats that lie flat without being taut when the stitches are well stretched out across the needle. Here are some tips you can try to improve your colorwork:
As you're knitting, spread the stitches out every 5-6 stitches to keep the floats from being too tight. You can also adjust the tension of the carried yarn, if necessary.
Occasionally stretch the knitted fabric along the diagonals to even out stitch sizes.
Keep the working yarns in the correct positions, and arrange the yarn balls next to the hand you're tensioning with. When you lock floats, always return the yarn to the correct position to avoid tangles.
You can try turning the work inside out so the floats are facing you. This can help you see your tension issues and adjust as needed.
If a stitch is pulled too tight and appears too small on the right side, you can fix it at the end by making a duplicate stitch over top in the correct color.
And don't forget that blocking forgives a multitude of sins. :) If you're worried about your tension, try steam blocking or wet blocking before you're finished to see how your cowl will look.