Whirl Slippers
Overview
The Whirl Slippers by Faye Kennington are the perfect gift for yourself or someone you love! These super quick, ultra-comfy slippers feature a swirling cable over the foot. In 5 sizes that cover Women’s sizes 4 - 15+, why not give ‘em a whirl?
This guide contains lots of helpful information for knitting these slippers–you can click any of these links to jump to the appropriate section:
Construction
These fun & fast slippers are worked from the cuff to the sole.

Garter Stitch Cuff
Work a few rounds in garter stitch.
Top of Foot
Then work across the center top of foot, and work back and forth over the center 10 stitches to create the motif on the top of the foot.

Sides of Foot
Pickup stitches up and down each side of the foot flap and then resume working in the round.

Sole
Last, work the garter stitch sole in the round. Turn inside out and graft using Kitchener Stitch.
Those new to reading charts may wish to see How To Read Knitting Charts on our blog.
Customization
Adjusting Ankle
If the gauge for the garter stitch cuff is 12 stitches over 4”/ 10cm, the circumference of the slipper around the ankle will be 10 (10¾, 11¼, 11¼, 12)”/ 25 (26.5, 28.5, 28.5, 30)cm. If this circumference, or the gauge of the garter stitch, is too wide, you can use a smaller needle for the first 6 rounds.
The cuff can also be worked in 1x1 ribbing instead of garter stitch; just (k1, p1) to the end of each rnd for the first 4 - 6 rnds, then proceed to the “Top of Foot.” This will produce a more elastic (and closely fitting) cuff. You may not need all 6 rounds as it will also be longer than the garter stitch.
A Wider foot
Foot sizing is interesting, since we typically talk in terms of length of foot, or sometimes width. We encourage you to think about the VOLUME of your foot.
If you have a long foot that’s skinnier than the average foot (like Alison), you may be able to wear more than one size or size down, since the fabric doesn’t have to stretch as far around the foot.
Similarly, if you have a wider than average foot, you may wish to size up or add extra rounds to the sides of the foot or the sole. This will increase the volume of the slipper for a better fit.
Customizing length is a little bit tricky since the gauge is giant. Adding a few stitches adds a lot of length! But if you want to add a little length to the foot, consider picking up additional stitches along the side of the foot. Just remember to pick up an even number.
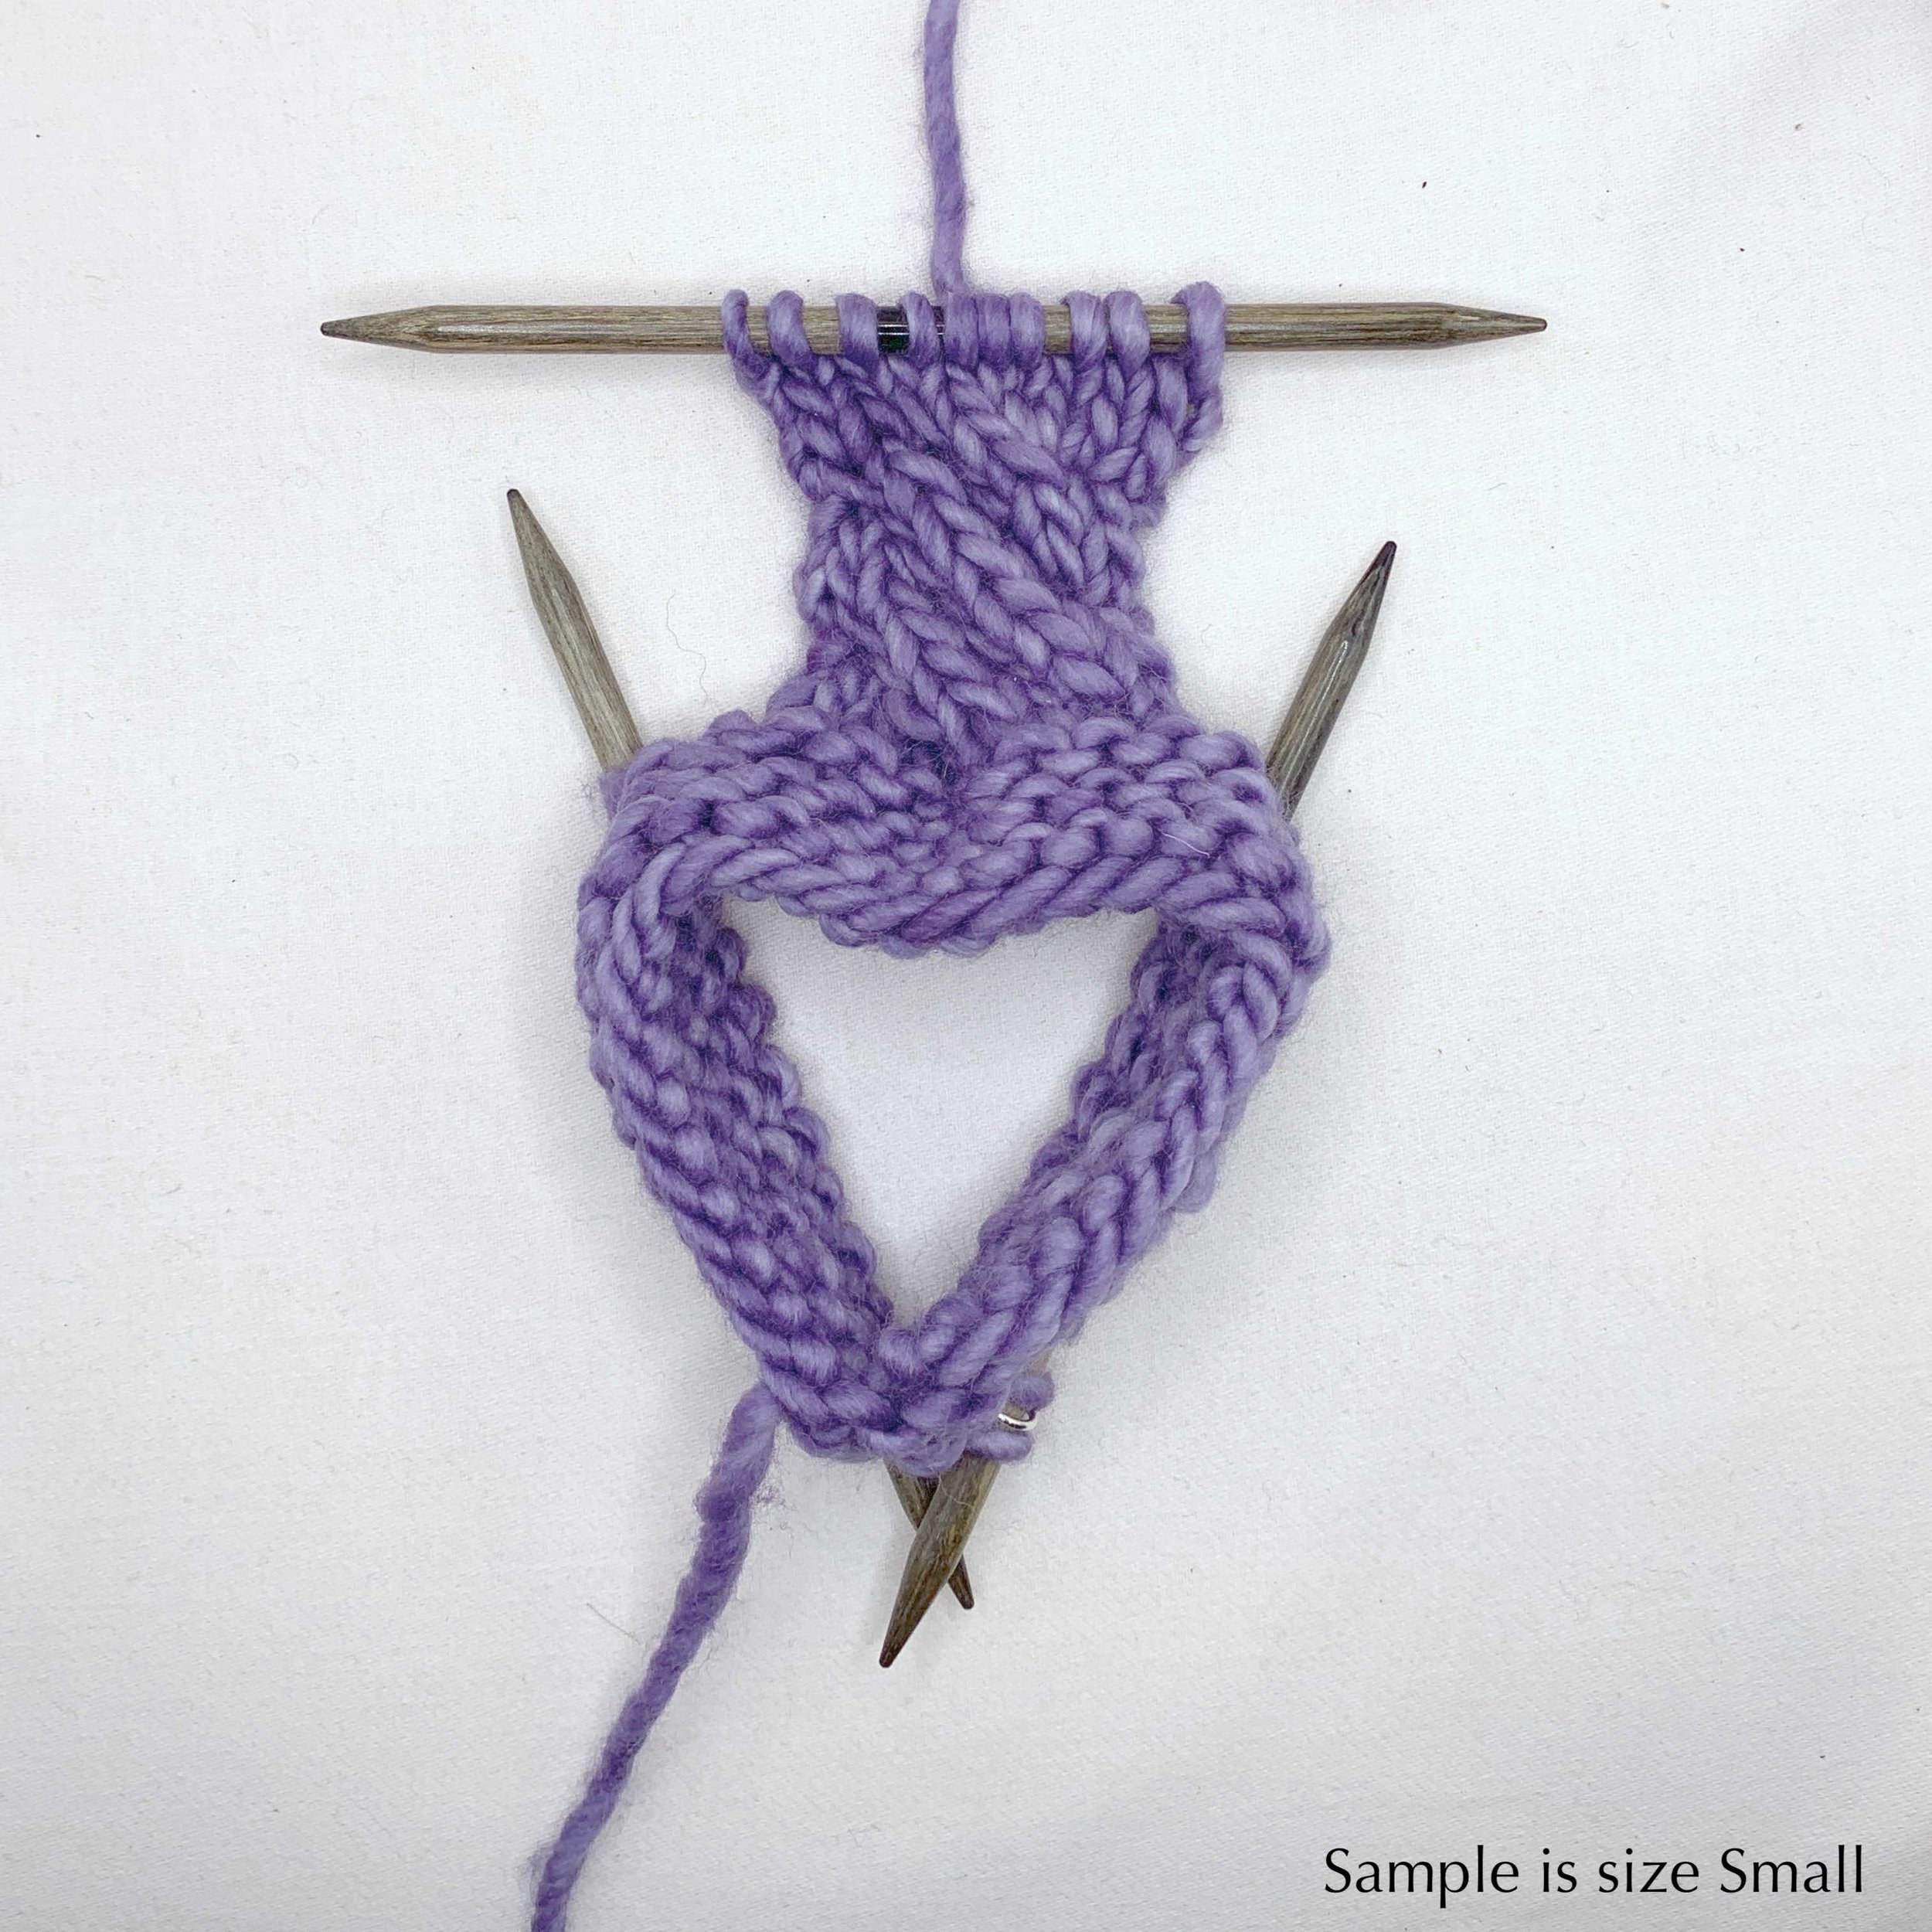
Distributing Stitches
These slippers work best with either 6 DPNs or 5 longer DPNs (8”/20 cm). As the slippers get larger, you’ll definitely want longer DPNs or an alternative method for working in the round, as stitches will want to fall off the edges of shorter DPNs.
We recommend starting with your stitches on 3 DPNs and keeping 10 stitches on the middle DPN. These 10 center stitches will be the top of the foot.
Once you return to working in the round, you’ll want to add additional DPNs to the mix.
Picking Up Stitches
When you pick up stitches on the sides of the foot, you just want to distribute them somewhat evenly. So if you’re picking up 9 stitches across 12 rows for the small, you’ll want to pick up about 3 stitches every 4 rows. It doesn’t have to be perfect - if you pick up 2 and accidentally skip a row, you don’t need to redo it, just make sure you don’t have big gaps anywhere and that you end with the correct number of stitches.
Finishing & Grafting with the Kitchener Stitch
To finish your slippers, you’ll:
Turn the slipper inside out by drawing the cuff up through the center of the needles.
Lay the slipper flat, arranging the stitches so that right sides lie flat together, divided evenly over 2 sides.
Cut yarn leaving a tail of about 1 yard/meter, and use Kitchener Stitch to close the bottom. Weave in ends and steam block, or wet block and lay flat to dry.
We find Kitchener Stitch to be really meditative. There’s a quick setup to get started: first draw your tapestry needle through the first stitch on the front needle purlwise, then draw your needle through the first stitch on the back needle knitwise. Then find your rhythm and repeat these 2 steps to the end:
Step 1: On the front needle, slip 1 knitwise, draw through 1 purlwise
Step 2: On the back needle, slip 1 purlwise, draw through one knitwise.
Not sure what we’re talking about? It’s Whirl Slippers by Faye Kennington, available exclusively in Knitrino. To get the pattern, open Knitrino or click the image below from your phone. 📱Knitrino works on iOS and Android devices only - there’s no PDF associated with this pattern.
